I have been away from my blog for way to long. I know.. but sometimes life throws you a few curve balls and you have to adjust. I have adjusted. Pretty well too. Anyway, I'm back now and, boy do I have a lot to show you all. :) I may not have been posting about it, but I have been pretty busy.
To start, I have begun to sew. Yep, you read that right. Sewing. What started off as a simple garter, and then a baby blanket, and then a king size quilt, has turned into a crazy obsession and love of all things fiber art!!
Now to show you one of my first baby quilts! I've made several like this, but I'm not sure I still have pictures of all of them..I know, I know...I should have kept up and this wouldn't be an issue. Oh well, on to the pretties.
This is such a simple project. Its great for beginners. If you have never sewn a day in your life, you can do this. The best part is, it doesn't have to be perfect. Matter of fact, the imperfections make it even better. The other awesome part is, you can make them to match what your recipient has on her registry.
Start off with a pack of flannel receiving blankets. I Like that Carter brand because they measure 30in by 40in. Most others are 30inx30in. This isn't bad, but I like having the extra 10in on each blanket. makes for a slightly larger finished project and you'll have some leftovers to make a pillow.
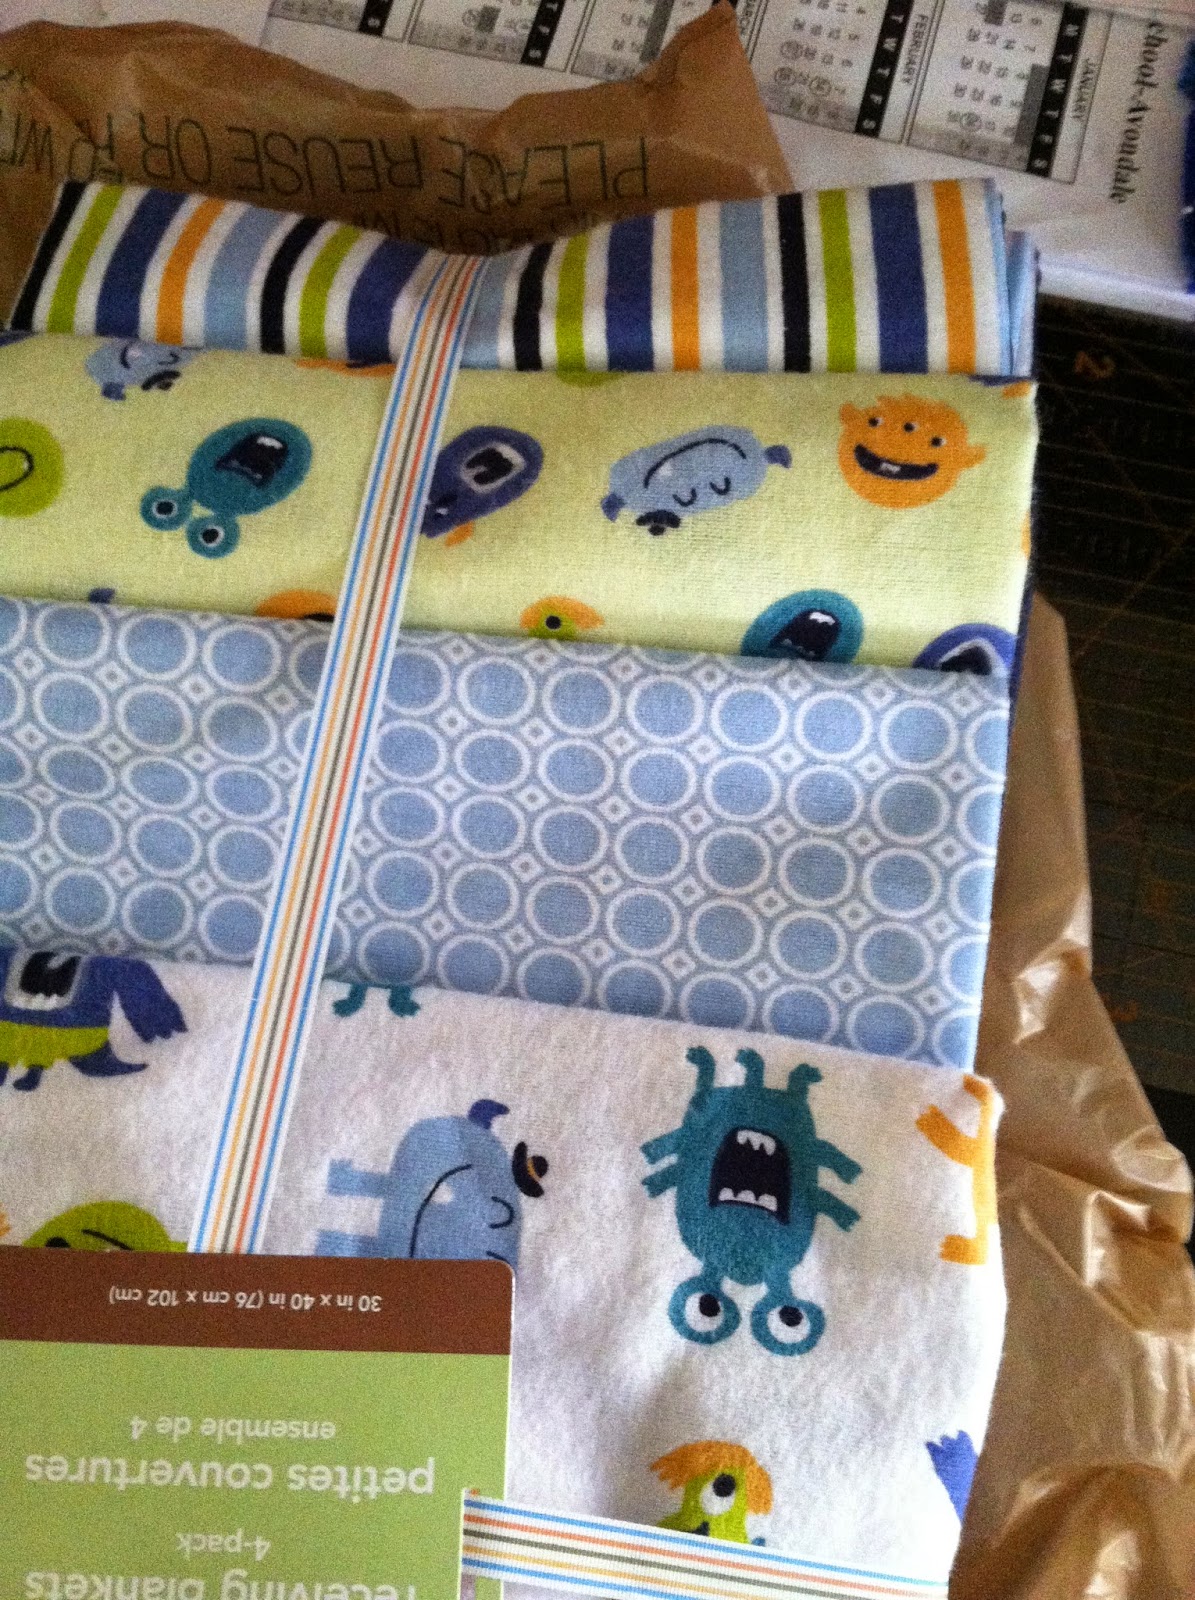
Once you have picked your pack, you'll want to open them and press them. Then cut off the tags, and trim the edges. Now, you should have 4, pressed and ready pieces of flannel.
Decide how you want to cut them. Generally I do 5inx5in or 6x6. Even squares make figuring out the math much easier. On this one, I did rectangles, but I still prefer the squares.
Now that you have all your fabric cut, you will decide on your pattern. This is the tricky part because you are deciding the front and the back at the same time. The easiest way to do this is to use the same fabric for the front and the back. This is what I do. Sometimes that isn't always possible. Depends on your pattern.
-Match up your squares, WRONG sides together. This is different then a regular quilt. You will be sewing right sides, not wrong sides together.
-Lay out your pattern with your top side up and your bottom squares on the bottom.
-Sew your blocks together. Treat each set of squares as one. You'll be sewing four pieces together at a time. Sew, so that your top, has the seams showing. 1/2 in seams. Do this row, by row. Then, sew your rows together just as you did your blocks, with all the seams to the top.
-Sew a 1/2in seam completely around your finished quilt.
-Now comes the tough part. Snipping. I would suggest getting a pair of spring loaded scissors for this. Fiskars makes a pair especially for cutting rag quilts. They are spring loaded and have a short cutting area. Please, get a pair. Your hand will thank you. Trust me.
-Snip in a quarter inch increments on all your seams, snip up to the seam but not through it. This is what will make the ragged and fluffy edge. Take your time as this can get tiring on your hand.
-Now that it's all sewn and cut, toss it in the washing machine and dryer, by itself. Don't forget to clean out your lint filter as it will be very full.

This is the final project! Super soft and fluffy! Not to mention, adorable! What do you think of my cute little monster baby quilt?


No comments:
Post a Comment